
Best Selling Electronics
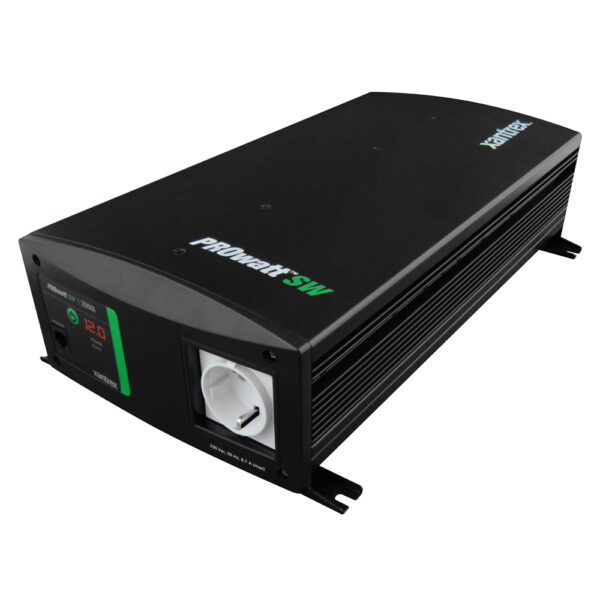
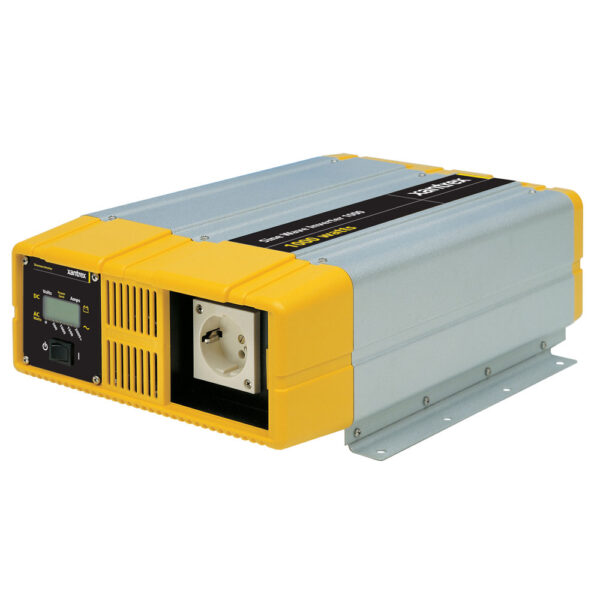
Xantrex PROwatt SW 700I 12VDC 230VAC 700W True Sinewave Inverter
Original price was: $604.47.$482.36Current price is: $482.36. Out of stock
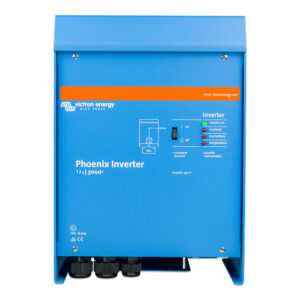
Victron Phoenix Inverter 24VDC – 250VA – 120VAC – VE.Direct – NEMA 5-15R
Original price was: $131.00.$106.25Current price is: $106.25. 5 left in stock
Victron BlueSolar MPPT Charge Controller – 100V – 15AMP – UL Approved
Original price was: $76.00.$64.60Current price is: $64.60. 15 left in stock
Victron Phoenix Inverter 12/500 – 120V – VE.Direct GFCI Duplex Outlet – 350W
Original price was: $195.00.$158.10Current price is: $158.10. 11 left in stock
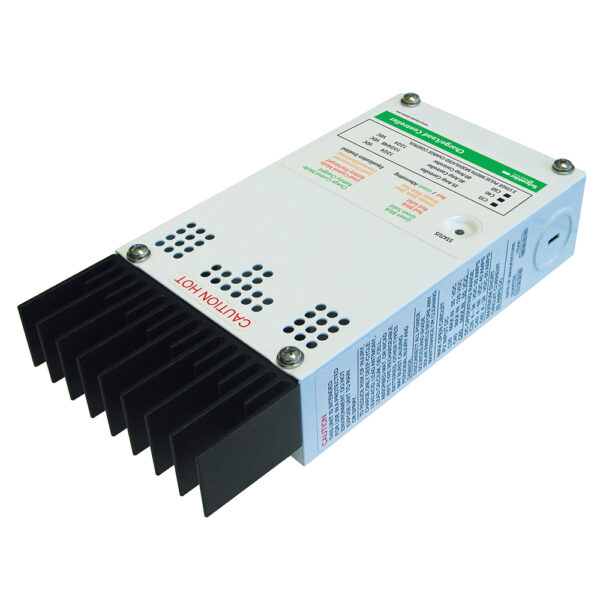
Xantrex C-Series Solar Charge Controller – 60 Amps
Original price was: $230.12.$188.88Current price is: $188.88. 12 left in stock
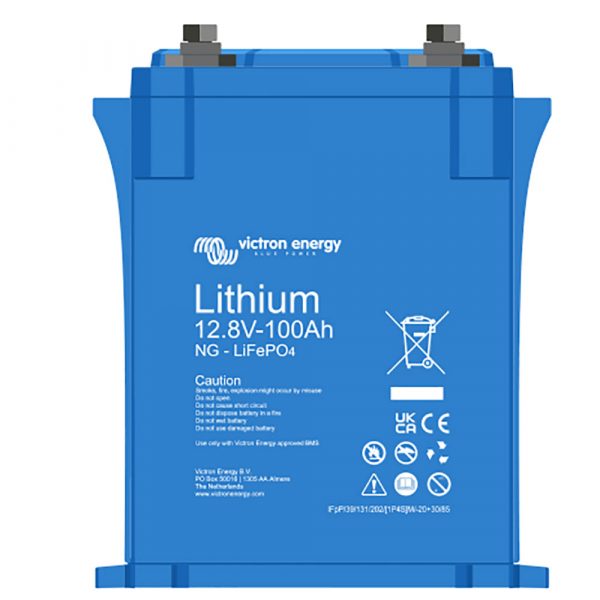
Victron Lithium Battery 12VDC 100Ah NG Smart LifePO4
Original price was: $1,145.00.$973.25Current price is: $973.25. Out of stock
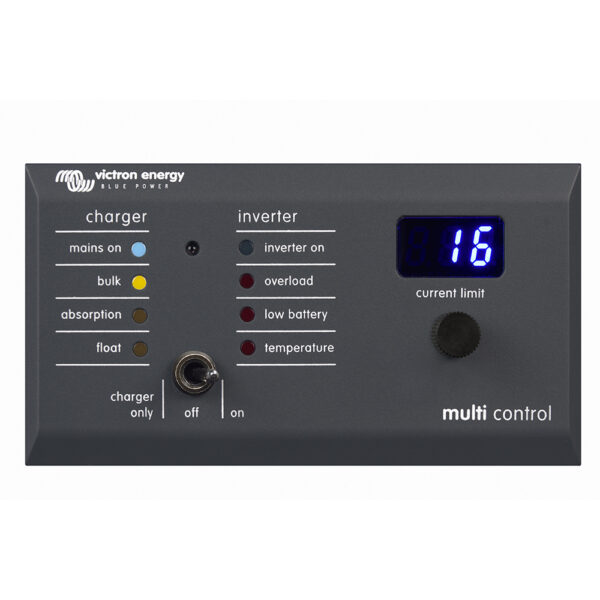
Victron Digital Multi Control 200/200A GX
Original price was: $152.00.$117.30Current price is: $117.30. 24 left in stock
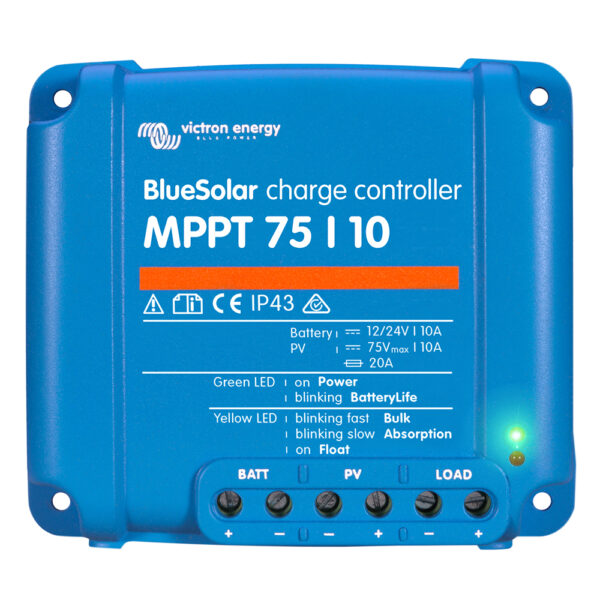
Victron BlueSolar MPPT Charge Controller – 75V – 10AMP – UL Approved
Original price was: $56.00.$47.60Current price is: $47.60. 19 left in stock
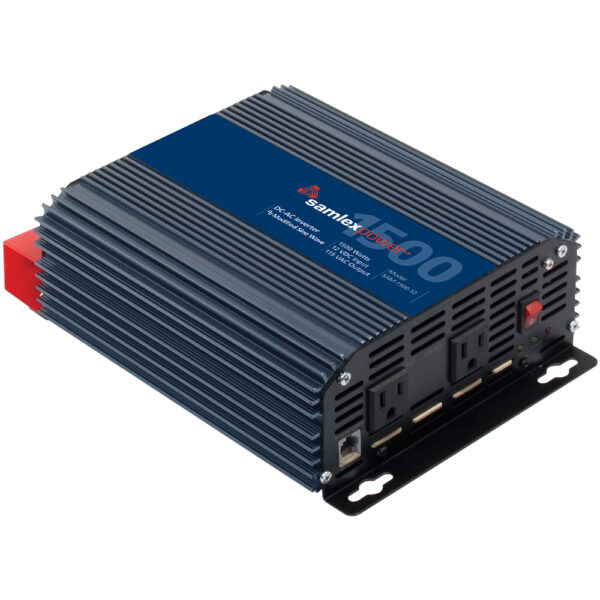
Samlex 1500W Modified Sine Wave Inverter – 12V
Original price was: $334.50.$267.60Current price is: $267.60. Out of stock
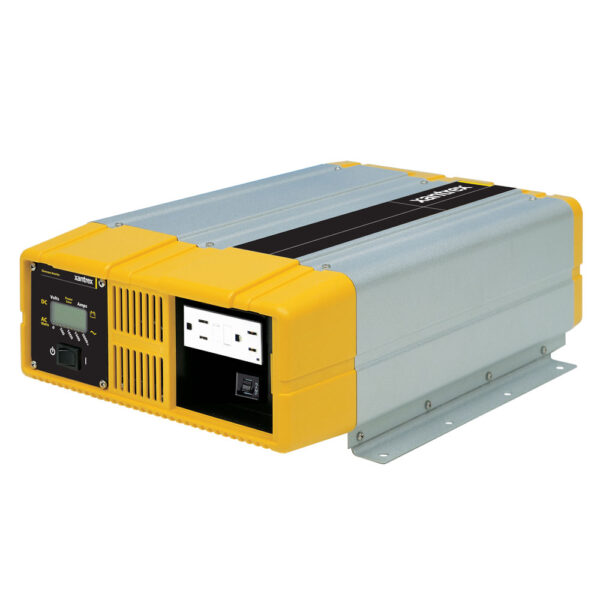
Xantrex Statpower Prosine 1800 GFCI
Original price was: $2,278.24.$1,774.02Current price is: $1,774.02. 6 left in stock

Samlex 1500W Pure Sine Wave Inverter – 24V
Original price was: $917.50.$734.00Current price is: $734.00. 3 left in stock
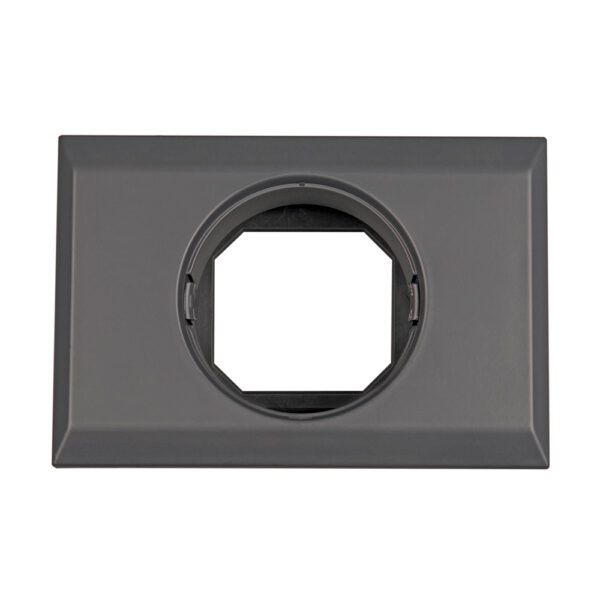
Victron Wall Surface Mount f/BMV or MPPT Controls
Original price was: $27.00.$22.95Current price is: $22.95. 5 left in stock
Victron Phoenix Inverter 12/250 – 120V – VE.Direct NEMA 5-15R – Single Outlet – 200W
Original price was: $118.00.$95.20Current price is: $95.20. 8 left in stock
Xantrex PROsine 1800/24/120 Hard Wired Inverter
Original price was: $2,558.12.$1,909.83Current price is: $1,909.83. 3 left in stock

Samlex 600W Pure Sine Wave Inverter – 12V
Original price was: $418.70.$334.90Current price is: $334.90. 2 left in stock
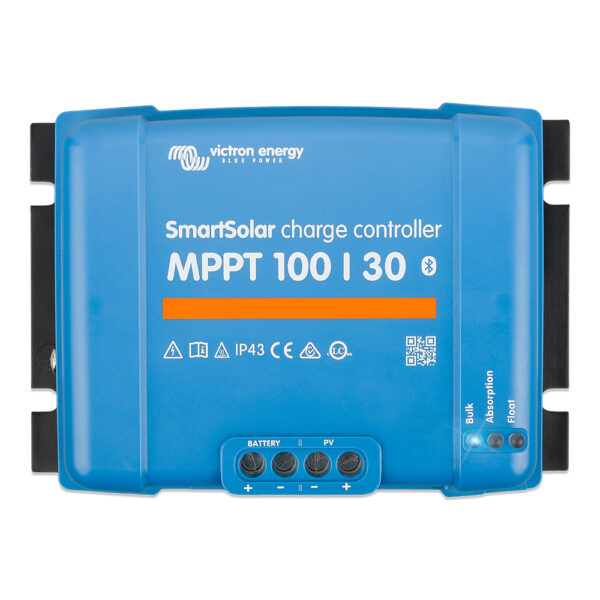
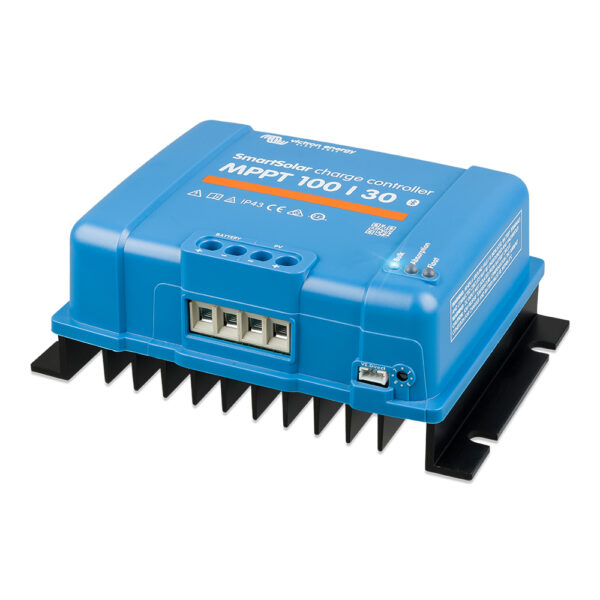
Victron SmartSolar MPPT Charge Controller – 100V – 30AMP – UL Approved
Original price was: $159.00.$135.15Current price is: $135.15. 22 left in stock
Xantrex PROsine™ International 1000I Hardwire Transfer Switch – 1000W – 12VDC/230VAC
Original price was: $1,280.00.$833.14Current price is: $833.14. Out of stock

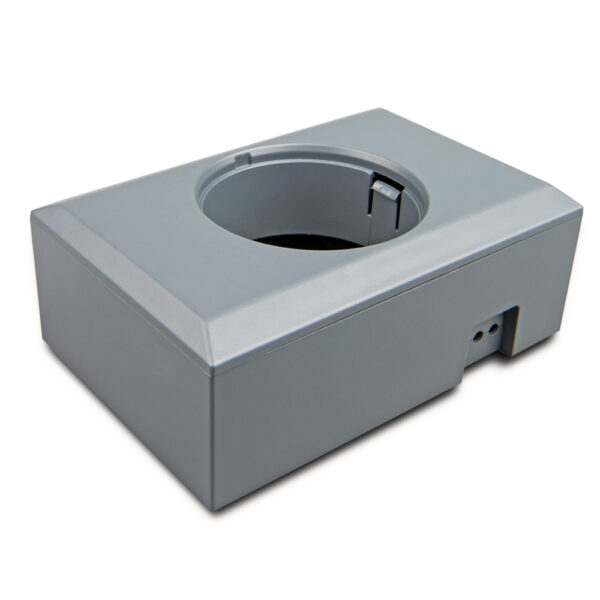
Victron Ekrano GX Wall Mount
Original price was: $33.00.$28.05Current price is: $28.05. 27 left in stock
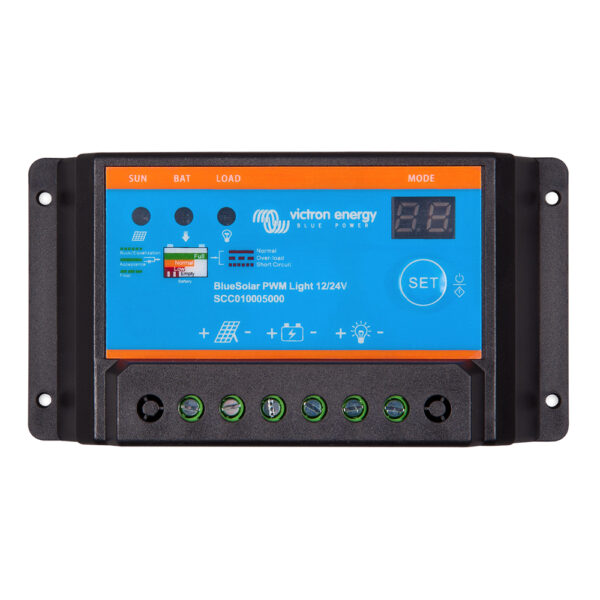
Victron BlueSolar PWM-Light Charge Controller – 12/24V – 30AMP
Original price was: $70.00.$54.40Current price is: $54.40. 9 left in stock

Xantrex Statpower Prosine 1800 GFCI 24V
Original price was: $2,558.12.$1,909.83Current price is: $1,909.83. Out of stock
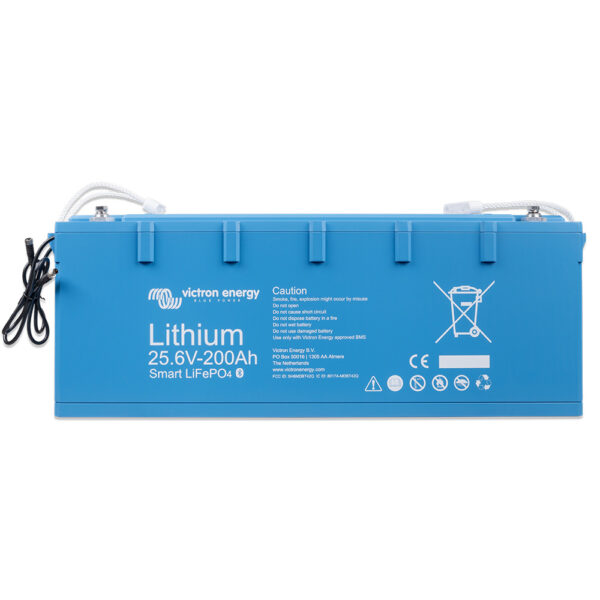
Victron Lithium Battery 24VDC – 200AH – Smart LifePO4
Original price was: $3,510.00.$2,983.50Current price is: $2,983.50. Out of stock
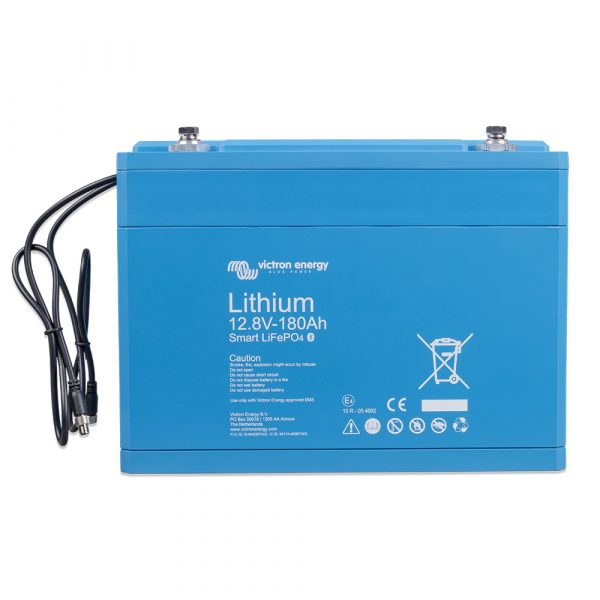
Victron Lithium Battery 12VDC – 180AH – Smart LifePO4 – Drop Ship Only f/$150
Original price was: $1,362.00.$1,157.70Current price is: $1,157.70. Out of stock
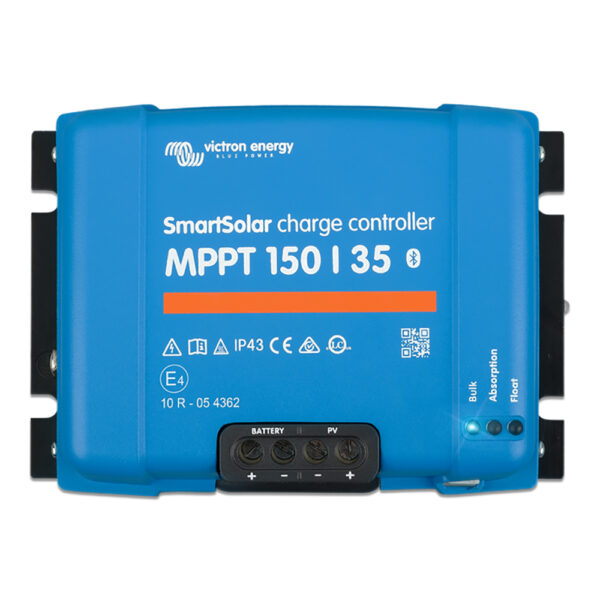
Victron SmartSolar MPPT 150/45 Solar Charge Controller
Original price was: $270.00.$229.50Current price is: $229.50. 6 left in stock
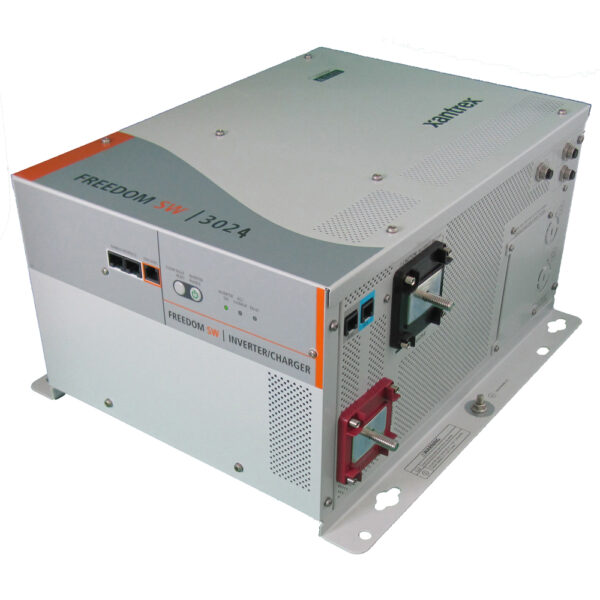
Xantrex Freedom SW3024 Inverter/Charger – 3000W – 24V
Original price was: $3,602.41.$2,466.79Current price is: $2,466.79. Out of stock
Victron SmartSolar MPPT Solar Charge Controller – 250V – 100Am- VE.CAN Port – UL Approved
Original price was: $757.00.$643.45Current price is: $643.45. 10 left in stock
Xantrex PowerHub 1800
Original price was: $1,411.70.$1,064.14Current price is: $1,064.14. 2 left in stock
Samlex 100W Modified Sine Wave Inverter – 12V
Original price was: $50.40.$40.30Current price is: $40.30. Out of stock
Samlex 2000W Modified Sine Wave Inverter – 12V
Original price was: $456.10.$364.90Current price is: $364.90. 8 left in stock
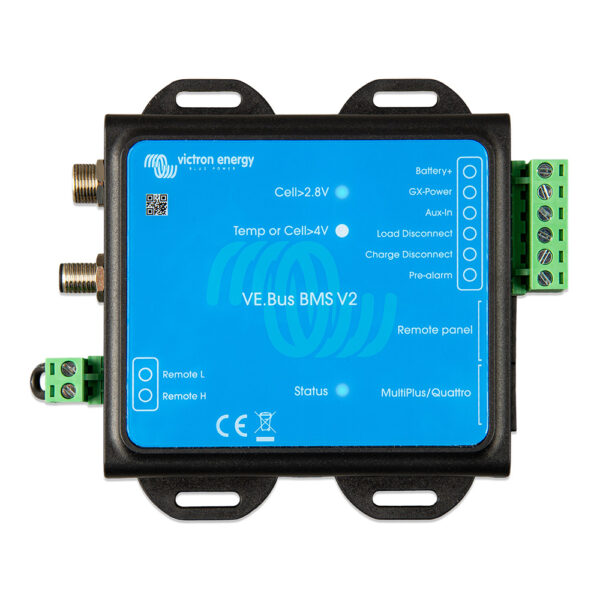
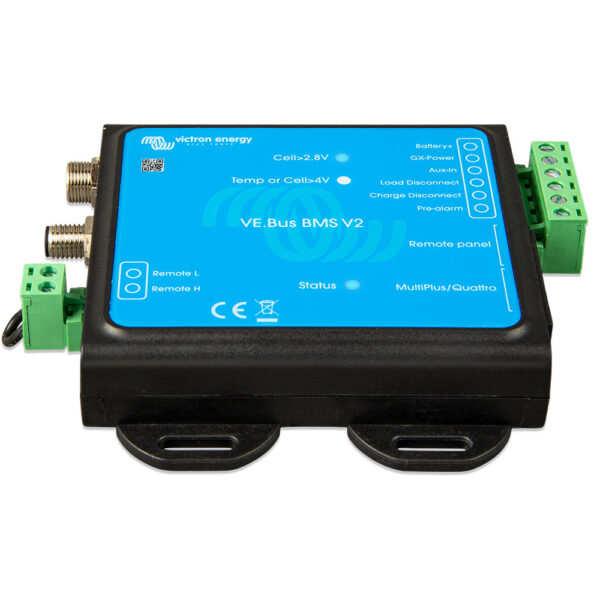
Victron VE.Bus BMS V2 f/Victron LiFePO4 Batteries 12-48VDC – Work w/All VE.Bus & GX Devices
Original price was: $184.00.$156.40Current price is: $156.40. 3 left in stock


DIY Novices and Experts


RVs•Boats•Off Grid

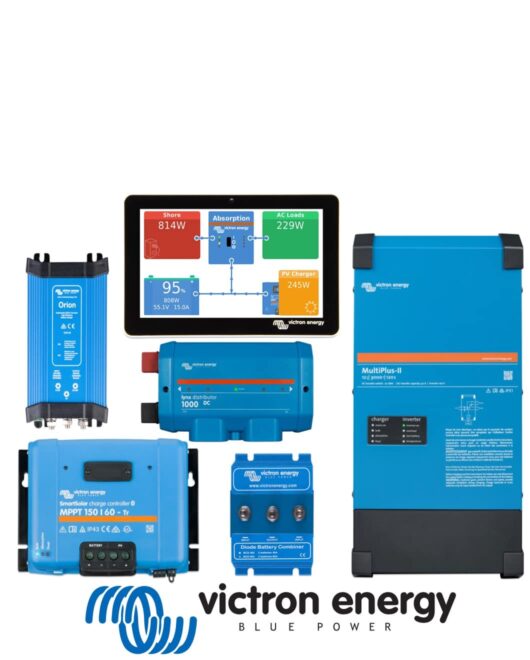
Professional Installations Start Here
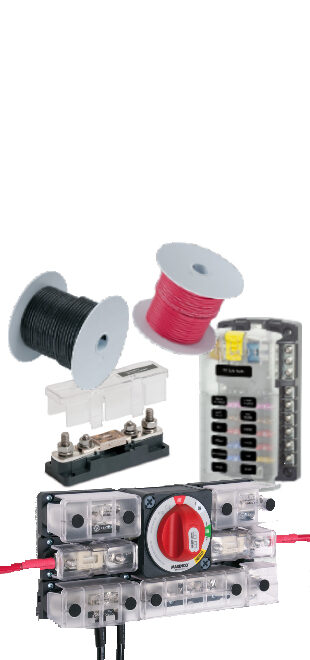
All the accessories you need for a Professional Install
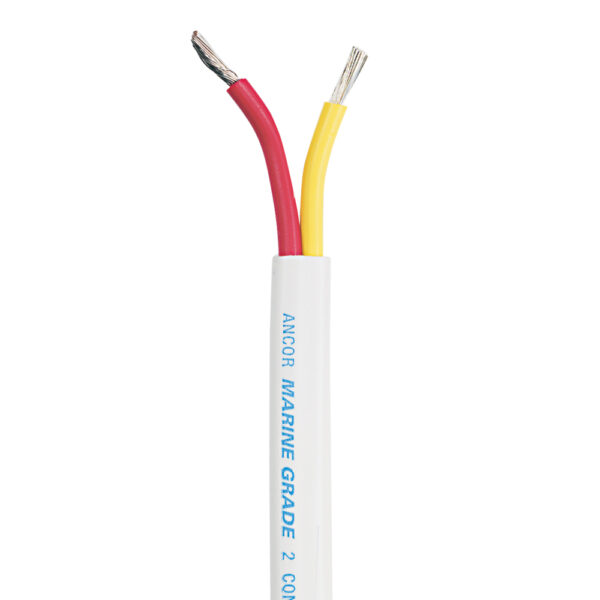
Ancor Safety Duplex Cable – 14/2 – 100′
Original price was: $85.99.$63.66Current price is: $63.66. 5 left in stock
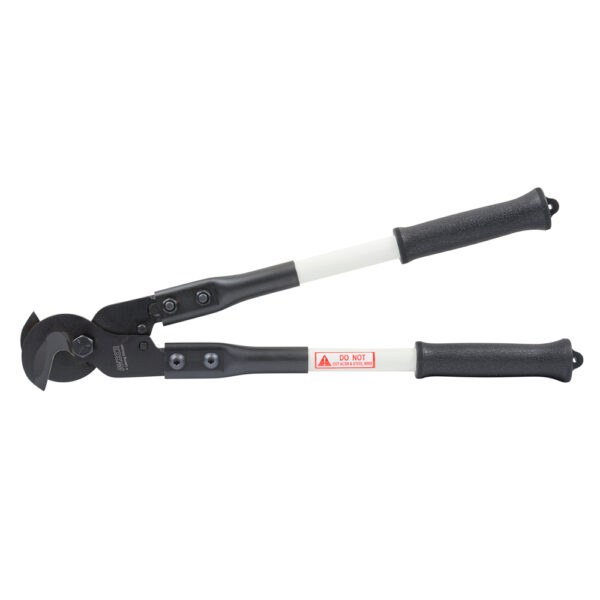
Ancor Heavy-Duty Wire & Cable Cutter
Original price was: $176.99.$100.12Current price is: $100.12. 2 left in stock

Pacer 18/2 AWG Duplex Cable – Flat Cable – Red/Black – 1,000′
Original price was: $563.00.$331.78Current price is: $331.78. Out of stock
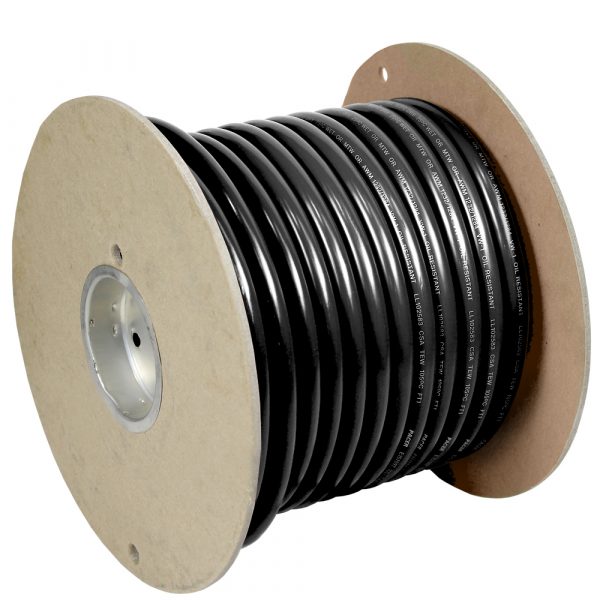
Pacer Black 6 AWG Battery Cable – 100'
Original price was: $251.00.$159.86Current price is: $159.86. 4 left in stock

SMART DECISIONS ON SOLAR, EQUIPMENT, BATTERIES AND TOOLS
How to Choose Equipment Size & Tools
It is often confusing how to get the most for your money. Here are some answers created by a licensed Electrical Engineer.


Our Articles
Articles on Designs and Other Things

LiFePO4 Battery Upgrades
Are Lithium Batteries Worth the Cost?
One of the most common questions I get is:
“Are lithium batteries really worth the extra cost?”
My answer is simple:
Yes. Absolutely worth every penny—if those pennies are spent wisely.
Understanding the Difference
Not all batteries are created equal. The most common comparison is between traditional lead-based batteries—such as SLA (sealed lead acid) and AGM—and modern Lithium Iron Phosphate (LiFePO4) batteries.
While lead-acid batteries have been around for decades and may appear cheaper upfront, they come with significant limitations that often make them more expensive over time.
LiFePO4 batteries, on the other hand, represent a major leap forward in energy storage technology.
Usable Power: What You Actually Get
One of the biggest differences is usable capacity.
With lead-acid batteries, you typically can only use about 50% of the rated capacity without damaging the battery. That means a 100Ah battery really only gives you about 50Ah of usable energy.
LiFePO4 batteries allow you to use 80–100% of their capacity safely and consistently.
So right away, you’re getting nearly double the usable power from a lithium battery of the same size.
Lifespan: The Real Cost Factor
This is where lithium truly separates itself.
Lead-acid batteries typically last:
- 300–500 charge cycles (AGM)
- Even less if frequently discharged deeply
LiFePO4 batteries commonly last:
- 3,000–5,000+ charge cycles
That’s not a small difference—that’s multiple times the lifespan.
What this means in real terms is simple: you may replace lead-acid batteries several times before a lithium battery even begins to show wear.
Maintenance and Reliability
Lead-acid systems require ongoing attention:
- Monitoring charge levels
- Avoiding deep discharge
- Managing voltage drop
- Dealing with sulfation over time
LiFePO4 batteries are essentially maintenance-free.
They provide:
- Stable voltage output
- Consistent performance
- No sulfation issues
- No regular maintenance requirements
They simply work—and keep working.
Weight and Efficiency
Another major advantage is weight.
LiFePO4 batteries are significantly lighter than lead-acid batteries with the same capacity. This is especially important in mobile applications like RVs, vans, and boats where weight directly impacts performance and efficiency.
They are also more efficient:
- Faster charging
- Less energy lost during use
- Better performance under load
Upfront Cost vs Long-Term Value
This is where most people hesitate.
Yes—lithium batteries cost more upfront.
But when you factor in:
- Longer lifespan
- Higher usable capacity
- No maintenance
- Fewer replacements
They are often the cheapest option over time.
In other words, you’re not just buying a battery—you’re buying years of reliable performance.
Where Lithium Makes the Most Sense
LiFePO4 batteries are especially valuable for:
- Off-grid systems
- RV and van life setups
- Marine applications
- Backup power systems
Anywhere you rely on stored energy daily, lithium quickly proves its value.
The Bottom Line
Are lithium batteries worth the cost?
Yes—if you’re looking at the full picture.
They provide:
- More usable power
- Longer lifespan
- Greater reliability
- Lower long-term cost
Lead-acid batteries may seem cheaper at first, but they often cost more in the long run—both financially and in system performance.
Final Thought
If you’re building a system you can depend on, lithium isn’t just an upgrade—it’s the foundation.
Spend wisely upfront, and you’ll avoid replacing, upgrading, and troubleshooting later.
In the world of off-grid power, that’s where the real value is.
Just recently, I met a neighbor that had a new 38′ 5th wheel. He ordered it with a stock 100AH Lead Acid Battery and no generator. He only went from RV park to RV park, with full hookups, so his logic was that he never needed an independent power system… UNTIL..
The last RV park had a 3 day power failure. His 100AH lead acid battery only lasted half a day due to his loads and residential refrigerator. Now, since the 5th Wheel was unhooked from his tow vehicle, it was up on it’s electric jacks. He could not lower the RV jacks to hook up and leave. So he had to spend three days until the power was restored and his battery was charged back up.
After 3 days and throwing all his refridgerated food away, he could charge his lead acid for a few hours and finally leave.
I ran into him and heard his story. I proposed a moderate solar system with Lithium Batteries, and he agreed. He is now power independent. His residential refrigerator, freezer and ice maker run 24/7 with no issues. He can charge every day or be on shore power. He now splits his time between RV parks and Boondocking.
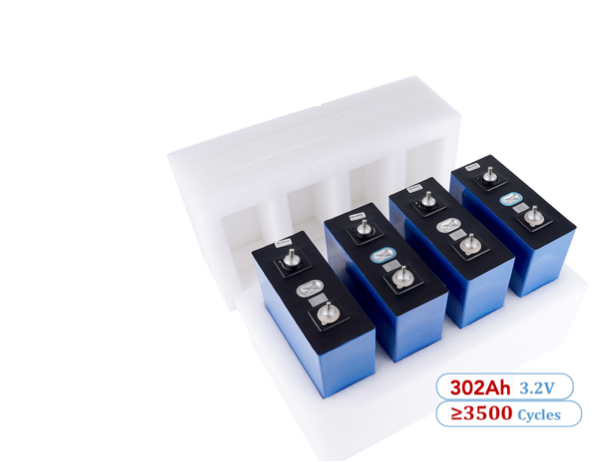
I have field tested these prismatic cells for over two years. They work flawlessly and can handle extreme discharges, but, I recommend using conservative charge and discharge profiles, which can be set by most quality Solar Charge Controllers and Inverter/Chargers. This will insure your batteries last for years and over a decade is not uncommon for LIFEPO4 Battery packs.
3.2 Volt, 280 Amp Hour Cells


4 Cells make up the replacement of a typical 12V battery in voltage and approximate size. The main differences are:
- One of these 280 AH packs is the equivalent of Five typical 100 Amp Hour Lead Acid or AGM Batteries.
- Conservative methods of Charge to 90% and discharge to 20-50% will make them last ten or more years.
- Rated at 3500+ Charge and Discharge cycles. One cycle a day would equal about ten years. We expect longer life than that.
- Mantanance is not required. Not fluids to add.
- 1/3 the weight of the same physical size Lead Acid or AGM.
- Compartment venting is not required. No vapor discharges.
- Can be mounted in any position.
- Tremendous Cost Savings over life cycles and power delivery.
Here is a recent build a customer sent in.

Rooftop Solar Panels
How Much Solar Do You Really Need?
One of the most common questions I get is:
“How much solar should I put on my van, RV, or trailer?”
And my answer usually surprises people—because it’s not what they expect.
I often say:
“Get as much solar as you can afford and physically fit.”
But here’s the truth—that’s not actually the right question.
The Real Question Isn’t About Solar
Most people start their system design thinking about solar panels first. That’s backwards.
Your system does not run on solar.
It runs on battery power.
When you’re off-grid—at night, in bad weather, or parked in the shade—your solar panels aren’t doing anything. Your entire system depends on stored energy in your batteries. Solar panels simply recharge those batteries when the sun is out.
And even in ideal conditions, you’re only getting about 5–6 peak sun hours per day.
How a Solar System Actually Works
- Battery = your fuel tank
- Solar panels = your refueling source
- Inverter = what makes the power usable
If your “fuel tank” is too small, it doesn’t matter how fast you refill it—you’ll constantly run out.
Start With Battery, Not Panels
So now, my answer has evolved into something much more accurate:
“Get as much battery capacity as you can afford and fit—and then size your solar to recharge it.”
Your battery bank determines:
- How long you can stay off-grid
- How much power you can use daily
- Whether your system feels reliable—or constantly stressed
👉 Start with high-quality LiFePO4 batteries here:
https://solarsupplyhouse.com/collections/lifepo4-cells-and-batteries
Step One: Do a Real Power Audit
Before you buy anything, you need to understand your actual power usage.
A proper power audit includes everything you plan to run:
- Refrigerator
- Lights
- Fans
- Water pump
- Electronics (laptops, Starlink, TVs)
- Inverter loads (microwave, coffee maker, etc.)
Start With Your Biggest Load
Your largest power draw is usually refrigeration, because it runs 24/7.
Example:
50 watts × 24 hours = 1,200 Wh per day
That’s your baseline. From there, you add your other loads.
Example Daily Power Breakdown
- Fridge: 1,200 Wh
- Lights: 150 Wh
- Fan: 300 Wh
- Devices: 300 Wh
Total: ~2,000 Wh per day
Build Your Battery Around Your Usage
If you use 2,000 Wh/day and want 2 days of autonomy:
2,000 × 2 = 4,000 Wh battery (4 kWh)
This is where quality matters most.
👉 Explore LiFePO4 battery options here:
Shop Batteries
Now Size Your Solar to Match
If you use 2,000 Wh/day and get ~5 hours of sun:
2,000 ÷ 5 = 400W minimum solar
But real-world conditions require more:
- Cloud cover
- Heat losses
- Panel angle
- Dirt/shading
Realistic recommendation: 600–800W solar
Why This Approach Saves You Money
- Avoid undersized systems
- Prevent costly upgrades
- Improve reliability
- Reduce long-term cost
Designing around battery first means your system works in real-world conditions—not just on paper.
The Bottom Line
Solar panels don’t power your system—they support it.
Your battery is what keeps everything running.
So instead of asking:
“How much solar do I need?”
Ask:
- How much power do I use?
- How long do I want to stay off-grid?
- How much battery do I need?
Then size your solar to match.
Final Thought
The best systems aren’t the biggest—they’re the ones designed correctly from the start.
If you build around your battery and your real-world usage, you won’t just save money—you’ll avoid rebuilding your system later.

Where, Why and When to cut corners
Solar builds—whether for RVs, vans, off-grid homes, or backup systems—have a reputation for getting expensive quickly. It’s one of the first concerns customers bring up, and understandably so. Everyone wants to save money. But when people ask me how to cut costs, my answer is often unexpected: don’t focus only on saving money today—focus on saving money over time.
That might sound counterintuitive, but in the world of solar and energy systems, short-term savings often lead to long-term expenses. The key is understanding where saving makes sense—and where it doesn’t.
The Biggest Mistake: Building for Today Only
One of the most common pitfalls I see is designing a system strictly around current needs. A customer might say, “I only need to run a few lights and charge my phone,” so they opt for the smallest, cheapest setup possible.
But fast forward six months…
Now they want to add a refrigerator, a Starlink system, or maybe even air conditioning. Suddenly, that “budget-friendly” system can’t keep up. Components need to be replaced, rewired, or upgraded—and now they’re paying twice.
This is where the real cost shows up.
A well-designed system should account for where your setup will be in one year or even five years, not just where it is today. Planning ahead doesn’t mean overspending—it means spending wisely.
Spend Once, Not Twice
There are certain areas in a solar build where cutting corners almost always backfires. These include:
- Battery capacity
- Inverter quality and size
- Wiring and system infrastructure
- Battery management systems (BMS)
For example, upgrading from a smaller battery bank to a properly sized one upfront might seem like a bigger investment. But replacing batteries later—especially after partial wear—costs significantly more.
The same goes for inverters. Buying a unit that barely meets your current needs often leads to a full replacement later. Instead, selecting an inverter with room to grow allows your system to expand without tearing everything apart.
Think of it like building a foundation. You don’t want to rebuild it every time you add a new room.
Where You Can Save Money
Now, this doesn’t mean you need to go “all out” on every component. There are smart ways to reduce costs without sacrificing long-term performance.
Here are a few areas where saving money can make sense:
1. Timing Your Purchases
Solar components fluctuate in price. Batteries, panels, and electronics often go on sale or drop in price seasonally. If your build timeline allows, waiting for the right moment can save hundreds—or even thousands.
2. Starting with Expandable Systems
Instead of overspending upfront, choose components that are designed to scale. For example:
- Modular battery systems
- Expandable solar arrays
- Inverters that support additional capacity
This lets you start smaller without locking yourself into a dead-end system.
3. Avoiding Unnecessary “Premium” Features
Not every build needs top-tier, feature-heavy equipment. Sometimes you’re paying for capabilities you’ll never use. The goal is not the most expensive system—it’s the right system.
The Hidden Cost of Cheap Components
It’s important to understand that the cheapest option is rarely the best value.
Lower-cost components often come with:
- Reduced lifespan
- Lower efficiency
- Poor compatibility with future upgrades
- Limited or no support
When these parts fail—or simply can’t keep up—you’re not just replacing them. You’re often reworking the entire system around them.
That’s where hindsight gets expensive.
Real-World Experience Matters
This isn’t a sales pitch—it’s something I’ve personally experienced and seen repeatedly in the field. Customers who tried to save upfront often end up spending more in the long run. Not because they made bad decisions, but because they didn’t have the full picture of how their system would evolve.
On the other hand, customers who planned ahead—even modestly—ended up with systems that lasted longer, performed better, and required fewer costly upgrades.
The Bottom Line
Saving money on a solar build isn’t about spending less—it’s about spending smarter.
Ask yourself:
- Where will my system be in a year?
- What might I want to add later?
- Will this component still work when I expand?
If the answer is no, it may not be saving you money at all.
A well-thought-out system is an investment—one that pays you back in reliability, performance, and fewer headaches down the road.
And in solar, that’s where the real savings happen.
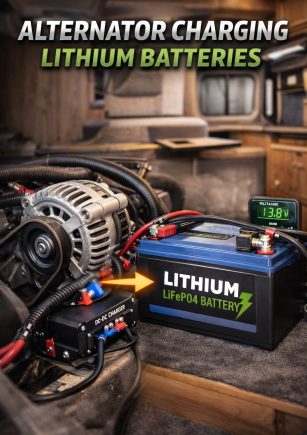
Charging from your Alternator or Tow Vehicle
How to Charge Your House Batteries from Your Alternator
If you have a tow rig, 5th wheel, Class A, B, or C RV—or even a van build—this question always comes up:
“I have an alternator… how do I use it to charge my house batteries?”
The short answer is: yes, you absolutely can—and it’s one of the most effective ways to charge your system.
But doing it properly takes a little more thought than just connecting a couple of wires.
Understanding the Alternator
An alternator is often misunderstood. At its core, it’s a fairly simple device.
In most vehicles, the alternator is driven by the engine via a belt. As long as the engine is running, the alternator is producing power.
In practical terms, it’s constantly pushing electrical current into the system.
But here’s the important part:
An alternator is not a smart charger.
It doesn’t “know” what your house batteries need. It doesn’t regulate charging the same way a dedicated battery charger or solar charge controller does. It simply provides power based on engine speed and internal regulation designed primarily for your vehicle—not your auxiliary battery bank.
Why Alternator Charging Matters
If you already have solar installed, you’re likely charging your batteries during the day. That works great—when the sun is out.
But what happens when:
- You’re driving at night?
- It’s cloudy for multiple days?
- You’re running higher loads than your solar can keep up with?
This is where alternator charging becomes extremely valuable.
Every mile you drive is an opportunity to recharge your system.
In many cases, alternator charging can deliver far more power than solar—especially over shorter periods of time.
When You Should Use Alternator Charging
Alternator charging makes the most sense if:
- You travel frequently
- You drive at night or early morning
- You rely heavily on your electrical system
- You want faster recharge times
If you’re parked most of the time in sunny environments, solar may handle the majority of your needs.
But if you’re moving regularly, your alternator becomes a powerful secondary charging source.
The Right Way to Do It
While it’s true that an alternator can “dump” power into a battery, connecting directly is not the proper approach—especially with modern systems and lithium batteries.
A proper alternator charging setup typically includes:
- DC-to-DC charger – regulates voltage and current safely
- Proper wiring – sized correctly for the load and distance
- Fusing and protection – to protect both vehicle and battery system
This ensures:
- Your batteries charge correctly
- Your alternator is not overloaded
- Your system remains safe and reliable
Alternator Charging and Lithium Batteries
If you’re running LiFePO4 (lithium) batteries, this becomes even more important.
Lithium batteries can accept a large amount of current very quickly. While that sounds like a benefit—and it is—it can also overwhelm your alternator if not properly managed.
This is why a DC-to-DC charger is critical in lithium systems. It limits current draw and ensures proper charging profiles.
Combining Solar and Alternator Charging
The best systems don’t rely on just one charging method—they use multiple.
A well-designed setup will include:
- Solar charging during the day
- Alternator charging while driving
- Optional shore power when available
This combination gives you flexibility and redundancy, so you’re never relying on a single source of power.
The Bottom Line
Your alternator is a powerful tool that often goes underutilized.
Yes—it can charge your house batteries. And in many cases, it can do it faster than solar.
But it needs to be done correctly.
Don’t treat your alternator like a simple power source—treat it as part of a properly designed charging system.
Final Thought
If you’re already driving, you’re already generating power.
Using that power effectively can significantly improve your system’s performance, reduce reliance on sunlight, and keep your batteries charged in real-world conditions.
Done right, alternator charging isn’t just a backup—it’s a major part of a reliable off-grid system.